How to Start Your First Aquarium (Step by Step)
A clear, step-by-step beginner's guide to setting up your first aquarium, from choosing a tank to cycling it safely and adding fish.
Before you buy a single fish
The most common beginner mistake is buying fish on the same day as the tank. A healthy aquarium is a small ecosystem, and it needs a few weeks to become livable. If you understand that from the start, you avoid the frustrating "everything died in the first month" experience that pushes so many people away from the hobby.
This guide walks you through the whole process in order: choosing equipment, setting up, cycling the water, and finally adding fish. Take your time. Patience is genuinely the most important skill in fishkeeping.
Step 1: Choose the right tank
Counterintuitively, bigger tanks are easier for beginners. A larger volume of water dilutes mistakes and keeps temperature and water chemistry more stable. A tiny 10-litre bowl swings wildly; a 60 to 120-litre tank forgives a lot.
For a first freshwater setup, aim for at least 60 litres. Choose a rectangular tank rather than a tall, narrow one, because the wider surface area allows better oxygen exchange. Place it on sturdy, level furniture away from direct sunlight (which fuels algae) and away from radiators or draughty windows.
Step 2: Gather the essential equipment
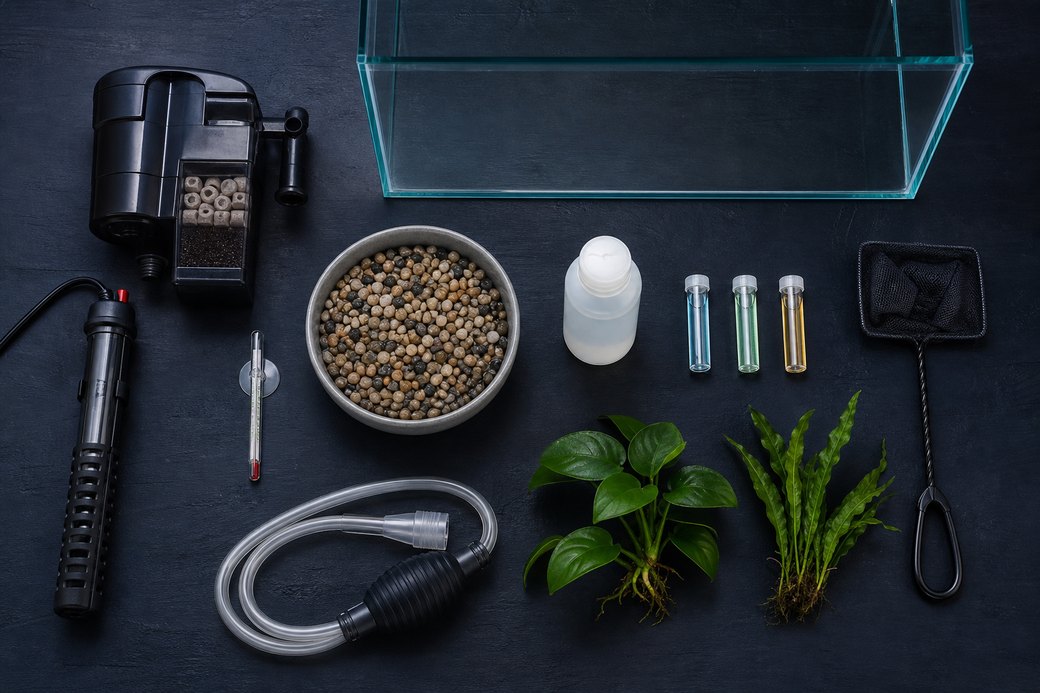
- Filter — the heart of the system. It should cycle roughly 4 to 5 times the tank volume per hour.
- Heater — for tropical fish, allow about 1 watt per litre, and use a thermometer to confirm the temperature.
- Substrate — gravel or sand, rinsed thoroughly before use.
- Water conditioner (dechlorinator) — tap water contains chlorine and chloramine that are toxic to fish and to your beneficial bacteria.
- A liquid test kit — measuring ammonia, nitrite and nitrate. This is non-negotiable; test strips are less reliable.
A light and a few plants (real or artificial) round out the setup. Live plants are beginner-friendly options like Java fern, Anubias or Vallisneria, and they genuinely help water quality.
Step 3: Set everything up
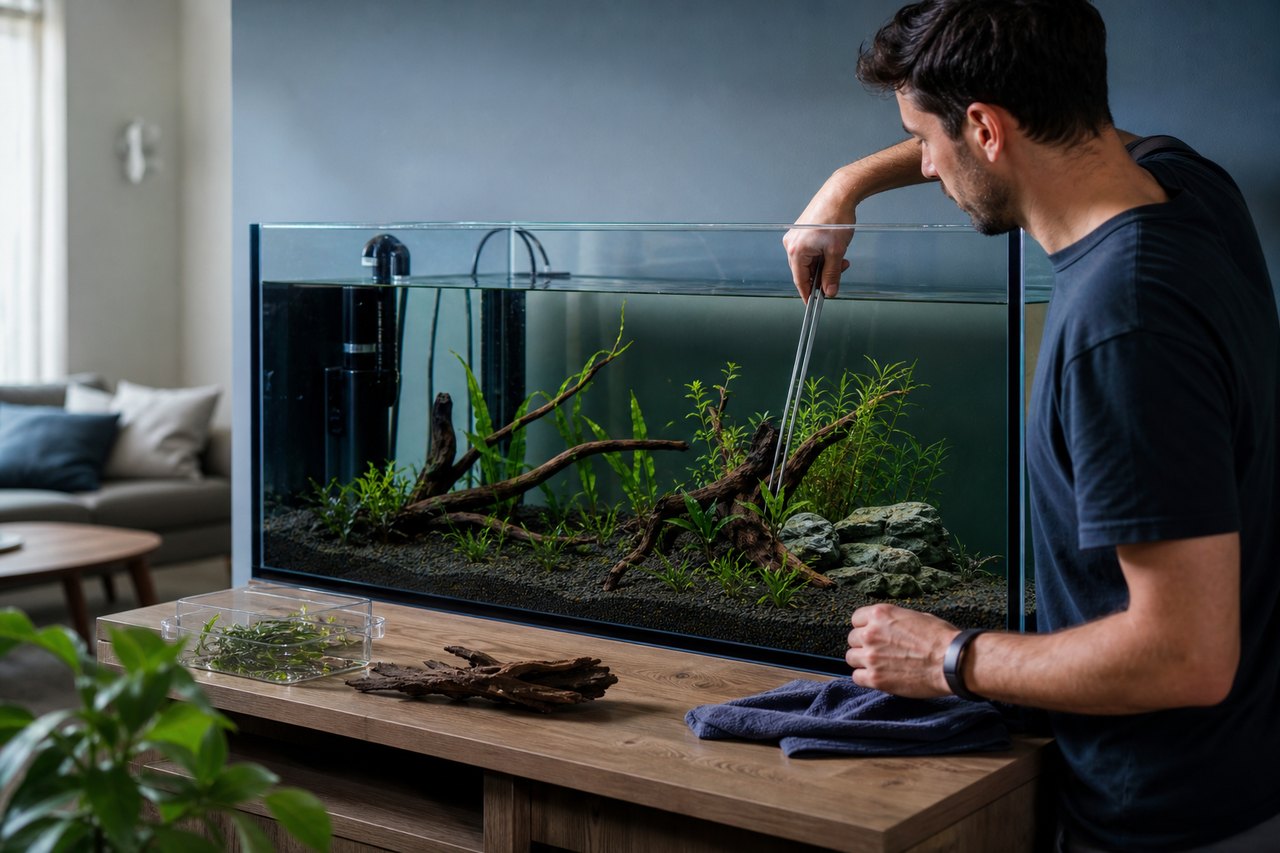
Rinse the substrate until the water runs clear, then add a layer 4 to 6 cm deep. Position hardscape such as rocks and driftwood, fill the tank with dechlorinated water, and install the filter and heater. Set the heater to around 24 to 26 °C for most common tropical fish.
Turn everything on and let it run for a day or two to check for leaks and confirm the temperature is stable. The water may look cloudy at first, which is normal and clears within a few days.
Step 4: Cycle the tank (the most important step)
This is where patience pays off. Fish constantly produce ammonia through waste and respiration, and ammonia is toxic. In a mature aquarium, colonies of beneficial bacteria convert that ammonia into nitrite (also toxic), then into nitrate (far less harmful). Building those bacteria colonies is called cycling, and it takes roughly 3 to 6 weeks.
The safest method is a fishless cycle. Add a source of ammonia, either a bottled pure ammonia dosed to about 2 to 4 mg/L, or a pinch of fish food left to decay. Then test the water every few days. You will see ammonia rise, then nitrite appear, then both fall to zero as nitrate climbs.
Your target before adding fish is clear: ammonia 0 mg/L, nitrite 0 mg/L, and some measurable nitrate. Adding a bottled bacteria starter or a handful of filter media from an established tank can speed things up considerably. Do not rush this stage, no matter how tempting the empty tank looks.
Step 5: Add your first fish, slowly
Once the tank is fully cycled, choose hardy beginner species suited to your water and tank size, such as small tetras, platies, danios or Corydoras. Research the adult size and social needs of each species first; many are schooling fish that need groups of six or more.
Add just a few fish at first, not the full stock. This lets the bacteria colonies grow to match the increased waste load. To acclimatise new fish, float the sealed bag for 15 minutes to equalise temperature, then gradually mix in small amounts of tank water over another 20 to 30 minutes before gently netting them in. Avoid pouring shop water into your tank.
Wait a couple of weeks between each addition, testing the water as you go. Feed sparingly, only what the fish eat in a minute or two, once or twice a day. Overfeeding is the number one cause of water quality crashes in new tanks.
Step 6: Settle into a maintenance routine
An established aquarium needs modest, regular care rather than occasional big interventions. A simple weekly routine keeps things stable.
- Change 20 to 30% of the water weekly, always using dechlorinated water at the same temperature.
- Use a gravel vacuum during water changes to remove waste from the substrate.
- Test the water regularly and watch for any ammonia or nitrite above 0 mg/L, which signals a problem.
- Rinse filter media in old tank water (never tap water) only when flow slows, to protect the bacteria.
Keeping a simple log of your test results, water changes and feedings makes it far easier to spot trends before they become emergencies. If you would like a gentle way to plan cycling, schedule water changes and record parameters over time, the AquaTender app is built exactly for that kind of routine tracking.
Common beginner pitfalls
A few mistakes come up again and again: adding fish before the tank has cycled, overstocking too quickly, overfeeding, and skipping water tests. Cloudy water in the first weeks is usually a harmless bacterial bloom, but persistent problems almost always trace back to one of those four causes.
Start small, move slowly, test often, and your first aquarium will reward you with a calm, thriving little world. Welcome to the hobby.